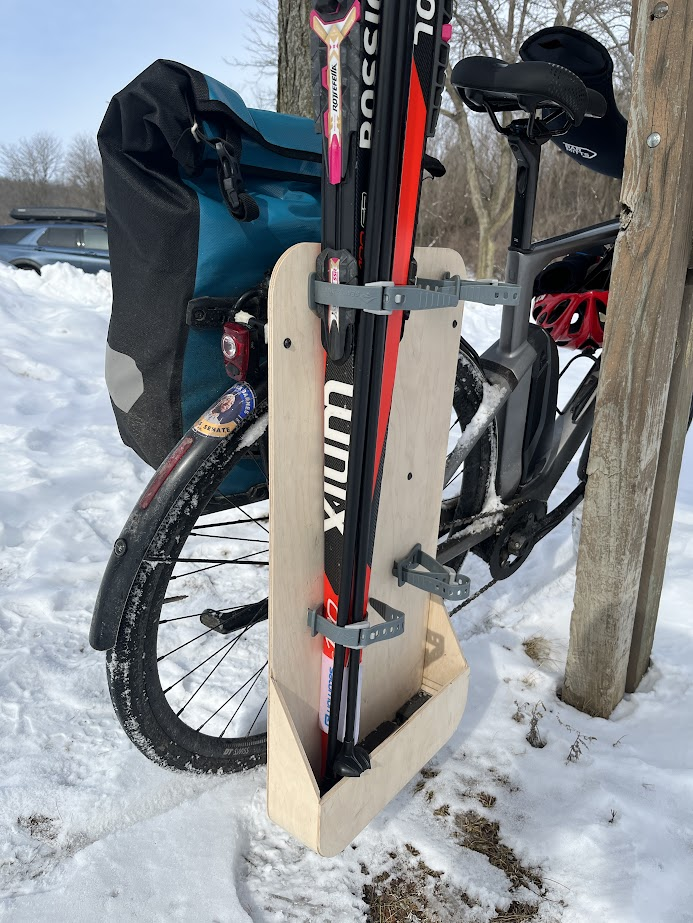
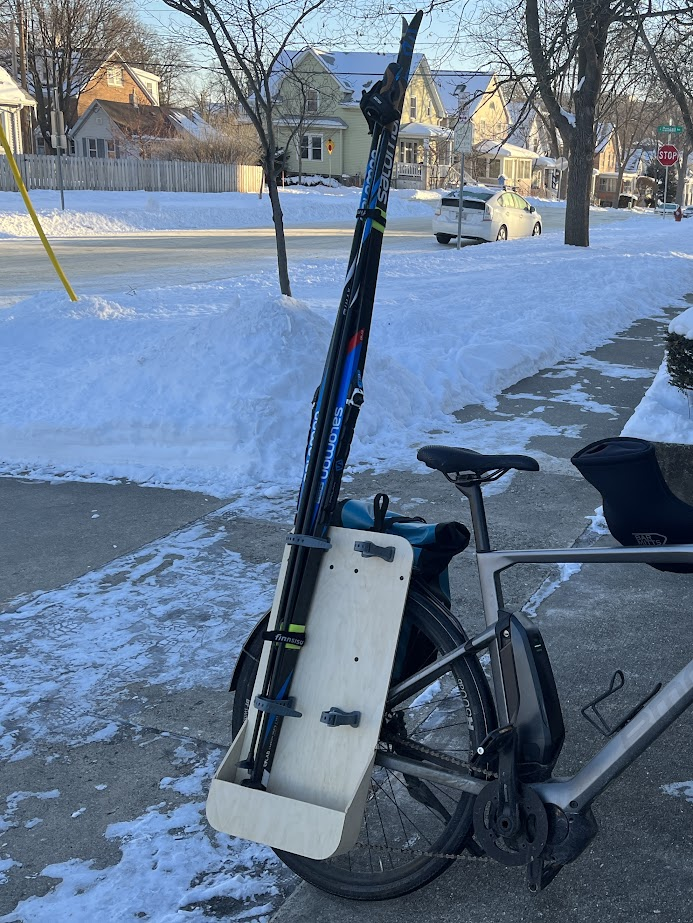
Many of you might see Luke Kubasta pull up to the Madnorski “Social Thursdays” trainings or to the winter race series by bike with his skis or rollerskis neatly attached to the frame. Luke travels “green!”
How did you come up with this idea?
I built this out of necessity after my car died a couple years ago and I didn’t want to buy a new one, instead opting for an e-bike as my main form of transportation. However, the biggest roadblock to becoming a one-car household was figuring out how my wife and I would both be able to go cross country skiing after work in the winter. This was the solution!
Do you try to ride your bike for all activities?
Almost all trips I make within the Madison area are by bike – grocery shopping, skiing, commuting, etc. I really dislike driving and choose to bike because it’s a better choice for the earth and protects our winters, which is especially relevant to us cross country skiers!
What are the biggest challenges in biking? What are the benefits?
The benefits are numerous! Making trips by bike instead of a car is so much more fun, healthy, and inexpensive. Commuting to work (and to the ski trails) by bike maintains my ski fitness (yes, even on an e-bike) and boosts mental health. It also does a tiny bit of good in saving our winters for the future. On top of all that, it usually starts a conversation at the trailhead!
The biggest challenge in winter is finding safe, plowed routes. Cold is no problem (bar mitts and good boots are key), but sometimes even studded tires are no match for unplowed bike paths. Though Madison is ahead of most US cities in bike-friendliness, I hope the City continues to do more to allow for safe, equitable, eco-friendly alternatives to driving year-round, which means better winter maintenance and better separated bike infrastructure. I am admittedly a bit of a die-hard when it comes to winter biking and skiing, but it can and should be a safe and easy choice for more people, not just the die-hards willing to put up with anything. If winter biking sounds crazy, check out this video about Oulu, Finland, known as the winter cycling capital of the world- it’s totally doable when the right policy choices are made!
What are the best bike routes to take to Elver?
Coming from downtown Madison, the safest route I’ve found is to take the Southwest Commuter Path, cross the Beltline, then take Hammersley Rd straight to Elver. Part of Hammersley has a new separated bike lane, which is exciting! To plan out safe bike routes, the biking layer in Google Maps is helpful, and the Madison Bikes Community Facebook group is a great place to ask for advice.
Do you also bike to go rollerskiing?
Yes! I can just as easily fit 2 pairs of rollerskis on my bike instead of snow skis (or one pair of rollerskis and one pair of rock skis when conditions are marginal – just in case 🙂). I like biking out to Eagle School as a starting point to rollerski on the rolling terrain there, such as the Cap City Trail.
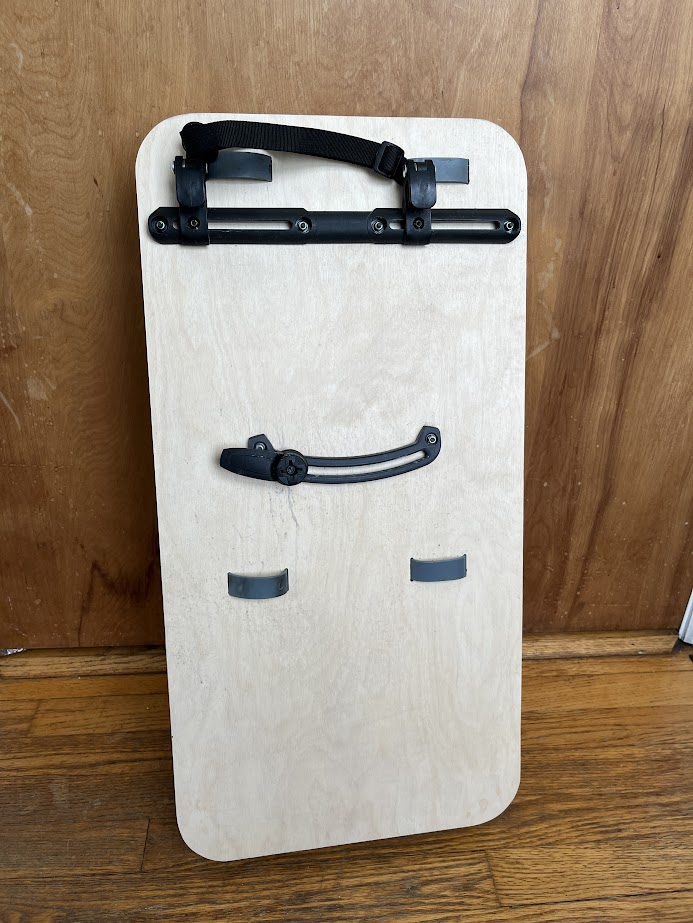
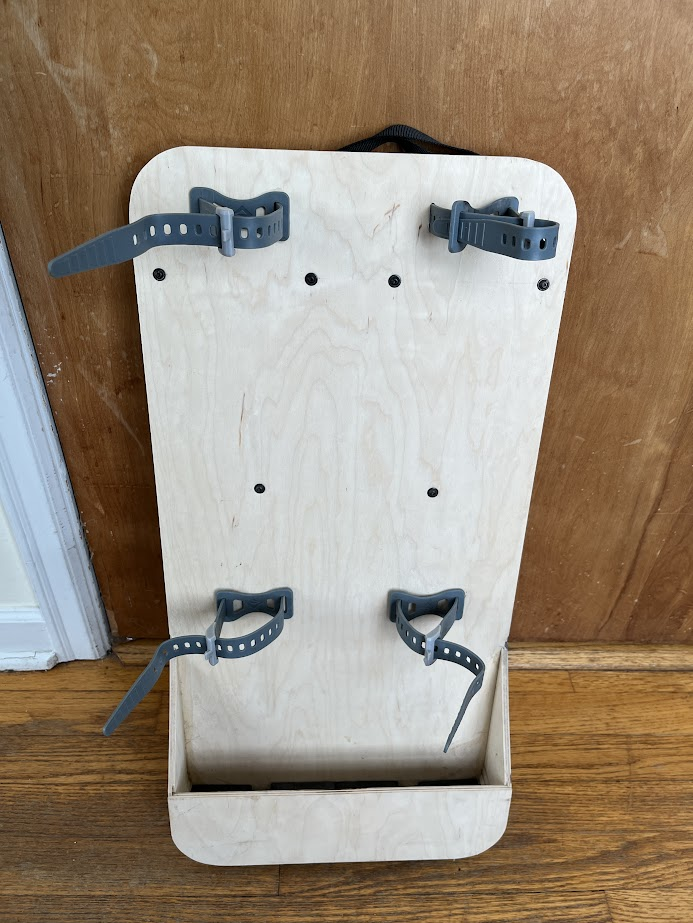
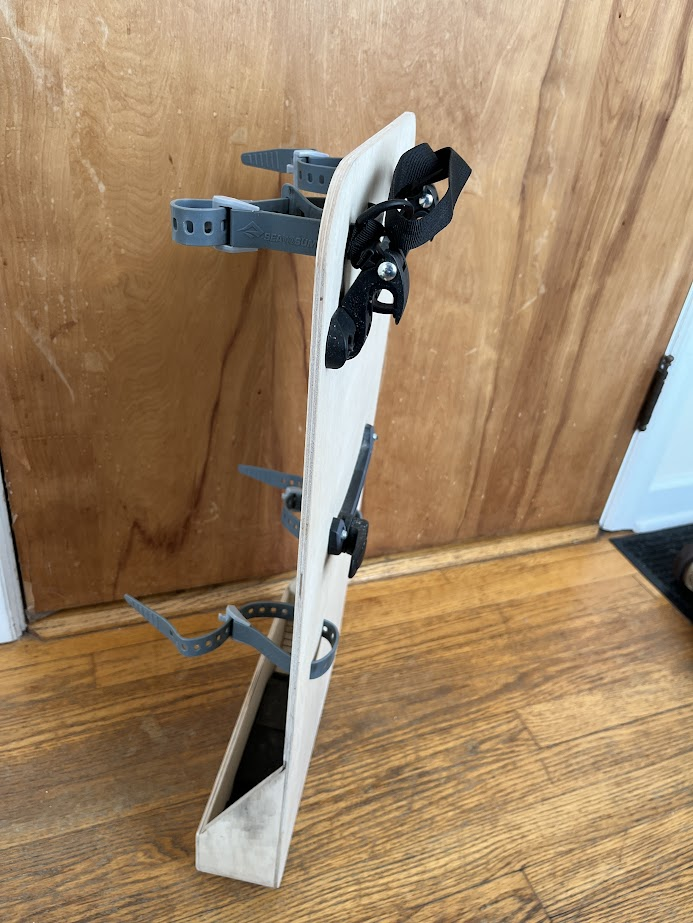
If you are inspired to make your own ski holder, here is what I did! Basically, all you really need is a sheet of plywood, some method of attaching it to a bike rack, and a few slots to thread four bungee straps through. I got a bit fancier though. I wanted it to be easily removable, so I used replacement pannier parts. The shelf at the bottom is handy but probably not entirely necessary, since the straps do the full job of keeping the skis attached. I also liked the look of rounded corners, but a squared shape would also work.
Parts for the rack attachment:
- Lower section mount: Ortlieb Curved rail for lower QL2.1 mounting system; 1 pc., incl. mounting screws – $6.99
- Lower section hook: E194 QL1, QL2 AND QL2.1 lower anchoring hook, 1 piece, incl. mounting screws – $6.99
- Upper section mount: E169-QL1 Long Rail with 4 Holes – $6.99
- Upper section hooks: E162-QL1 Top Hooks with Handle – $14.99
Other materials needed:
- Minimum 24×30 ¼” (6mm) sheet of Baltic Birch plywood – Baltic birch is hard to come by right now, but local woodworking/cabinetry suppliers may carry it. Baltic birch is much more structurally solid than the stuff you’d find at Home Depot/Menards, and you really need the strength/stiffness for this project.
- 4 Sea to Summit ¾”x15” stretch-loc straps (or similar, such as Voile brand)
- 6 small machine screws with locknuts and washers for attaching the rack hardware
- Wood glue (Titebond II preferred for waterproofness)
- A water-resistant finish such as water-based polyurethane
- Optional: Foam to line bottom of rack; hot glue to attach it
Tools needed:
- Table saw
- Drill
- Bit sized to the hardware you buy
- Router table
- Flush trim bit for cutting rounded corners with a template
- ⅛” bit for routing slots (or whatever your strap thickness is)
- Rabbeting bit for ⅛” rabbets
- Jig saw (optional) for cutting rounded corners
- Sander (optional) for finishing
- Screw driver
- Clamps
Directions:
- Follow the dimensioned plans. Cut a 26×13” rectangle on the table saw and mark out/drill holes for the pannier hardware accordingly. Rout slots based on the size of your bungee straps. Mark out the corner radii and rough cut them with a jigsaw.
- Cut a 3.75”x13” rectangle for the front panel. Mark out the corner radii and rough cut them with a jigsaw.
- Make one template with a 2” corner radius out of scrap wood. Using double sided tape, temporarily attach it to each of the 6 corners that need to be rounded, and use a flush-cut router bit to copy the radius onto your parts.
- Use a rabbeting bit on the router table to make rabbet joints on each piece according to the drawings.
- Cut a ~29”x3.25” rectangle for the bent part.
- Mark out the sections that will wrap around the corners, including the 9 evenly spaced lines that will be kerf-cut.
- Cut the angled ends with either a jigsaw or table saw.
- Use a rabbeting bit on the router table to make a rabbet on both long edges of the part.
- Use a table saw to create kerf cuts centered on each of the 18 marked lines. The kerf cut should go almost all the way through the plywood, leaving one ply intact.
- Make the gluing jig out of scrap wood. Note that these corner radii are .25” less than the previous ones. Don’t skip this step, or gluing up the final product will not go well!
- Using damp rags wrapped around the part, soak the kerf-cut sections of the soon-to-be bent long part overnight. This will allow the wood to bend more easily without snapping.
- Gently bend the kerf-cut sections of the long part over the gluing jig (as pictured). Apply wood glue to the rabbet joints on all parts and clamp everything up.
- After the glue is fully dried, do any necessary sanding and finish using a nontoxic water resistant finish such as water-based polyurethane.
- Screw on the pannier hardware.
- Thread the bungee straps through the slots.
- Use hot glue to attach foam to the inside bottom of your ski rack for ski tips to rest on.
- Get out there and ski!
